The O2 sensor – an important part of the car control system, will get dirty over time and cause problems such as slow acceleration, round sound, or even car burning because of extra gasoline.
Toc
Though you can not prevent the sensor from getting attacked by contaminants, you can still check the sensor condition and prevent it by cleaning it. Scroll down for a comprehensive guideline on how to clean O2 sensor properly to maintain your car’s excellent performance!
When Does An O2 Sensor Need Cleaning?
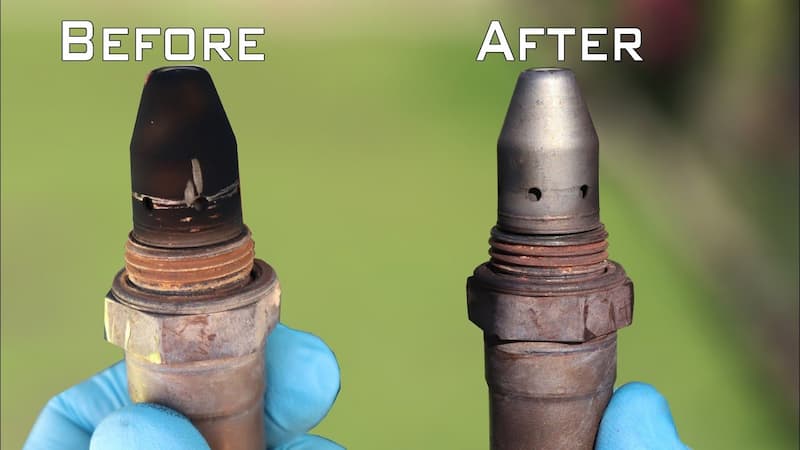
You might wonder some questions like, can a dirty O2 sensor cause the car not to start? Or can a bad coolant temperature sensor cause the car not to start?
Our short answer is No, they don’t cause your car not to start. But you had better inspect these sensors regularly to avoid causing other serious damage. So, how to realize your O2 Sensor needs cleaning?
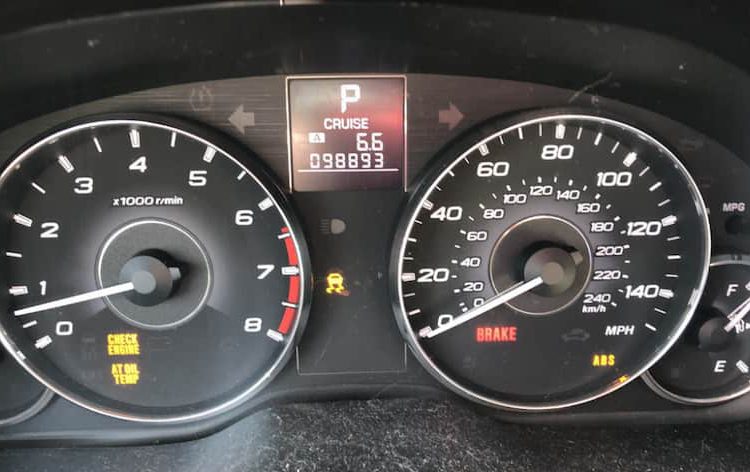
The check engine light in the taskbar will tell you if your O2 sensor needs cleaning or not. Moreover, here are some symptoms that indicate a dirty O2 sensor:
- Significant loss of fuel efficiency.
- Degraded in engine performance.
- Black smoke and bad smell from the exhaust.
- The emission amount turns to a high level.
- The engine shows power surges, starts bucking, or skips, etc.
In case the signals seem hard to observe, you can try the OBD-II scanner. Besides, the error code will also identify the particular parts that are in trouble.
How To Clean O2 Sensor?
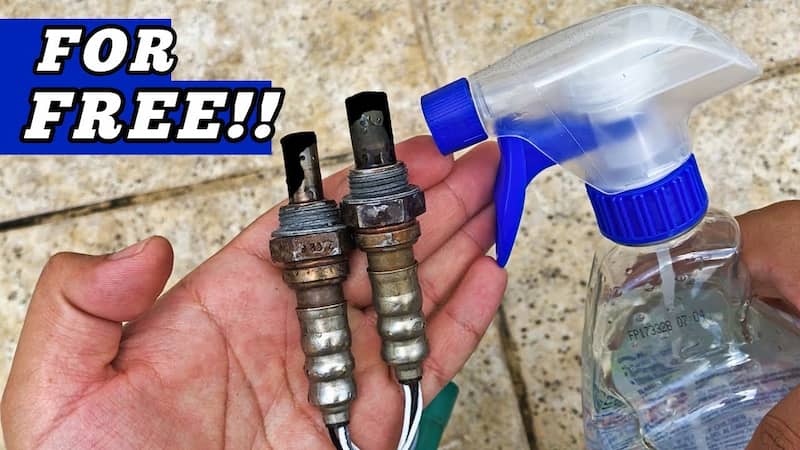
-
Use A Cleaning Product
First of all, the simplest way to clean an O2 sensor is using a cleaning product containing solvents formulated to break down accumulated debris without little or no damage to the engine.
Remember that you should never use non-automatic solvents for your vehicle, as the chemical structure of various products can differ and suit the certain intended use. Make sure that you choose the right automatic solvents to get the best result!
Moreover, you had better search for a suitable product for your engine type before hurriedly purchasing one. Some brands are not universal and may only be suitable for either diesel or gasoline engines.
After choosing the right solvent, read the instructions carefully to figure out the correct usages.
The instructions will tell how much gas you should have in the gas tank before cleaning, how far you should take your car out for a spin to allow the product to circulate, and how long you will have to wait.
There might be some brand-specific notes as well, so follow the instructions strictly to get rid of all the accumulated debris!
-
Clean O2 Sensor With Gasoline
If the cleaning solvent does not work well, gasoline can act as a deterrent to target and prevent engine deposits from forming up without harming your vehicle.
However, this method requires you to remove some parts of the car, so make sure you do the work at home! Here are detailed instructions to avoid unwanted injury and damage for you:
Locate The O2 Sensor
Step 1. Safety comes first
Before starting the work, put on safety working clothing, including sturdy work gloves and protective eyeglasses to protect your hands and eyes from gasoline.
Step 2. Elevate the vehicle with a car jack
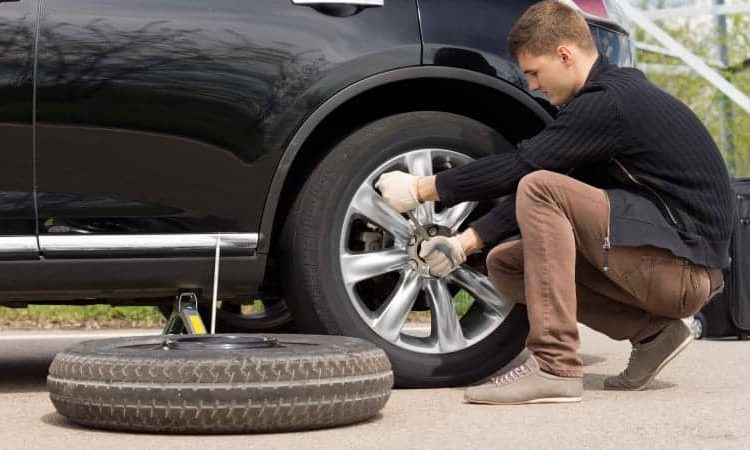
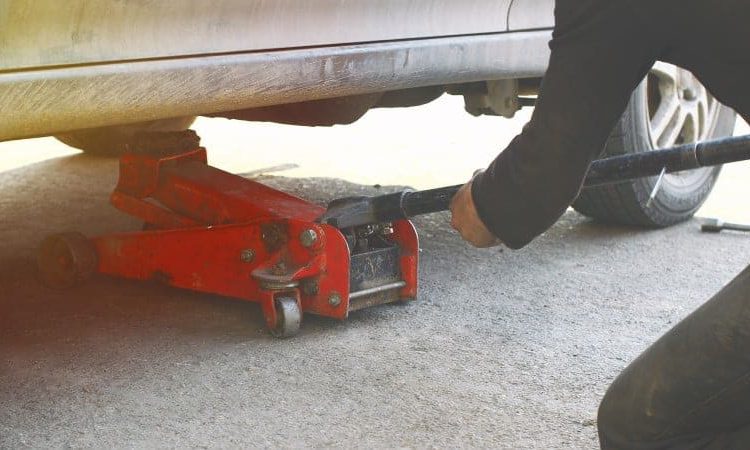
The O2 sensor is on the car’s underside, so you have to lift the car to remove the sensor. Car jacks are available at any auto-parts store with numerous types. Thus, you can tell the staff about your car size and type for appropriate jack suggestions.
Then, put the jack under the vehicle’s chassis part and lift it. Do not forget to turn off the car battery as you are working on an electrical sensor!
Step 3. Identify the O2 sensor.
Depending on which model you have, the vehicle can have more than one O2 sensor. So check the manufacturer’s manual for the exact number and locations of the sensor.
Most cars have at least two sensors: one in front of the car catalytic converter, one in the exhaust manifold. If your car has more than one manifold, it is likely to have more than two sensors.
Moreover, the O2 sensor looks like a spark plus around two inches long. Make sure the engine cools off before touching the sensor, or you might get burned.
Remove The O2 Sensor
Step 4. Spray the O2 sensor with WD-40
The sensor might be firmly stuck in the place, so use the WD-40 or other type of lubricant to loosen it. Then, wait for 10-15 minutes to allow WD-40 to lubricate the sensors, making them much easier to remove.
Step 5. Fill an industrial bucket with gasoline
While waiting for the WD-40 to work on the sensor, fill a large bucket of gasoline and place it near the vehicle.
Please be mindful of using the suitable type of bucket, as not all containers are gasoline resistant. Leaking gasoline might lead to a serious threat, so ensure the industrial bucket can safely contain gasoline.
Step 6. Unscrew the oxygen sensors from their housing
You will need a sturdy wrench to loosen the sensor in this case. Once you remove the sensor, do not put it on the dirty ground but in the clean one (a plastic bowl or a clean spot on your car).
Clean The O2 Sensor
Step 7. Immerse the sensor in the gasoline bucket
Now, fully submerge the sensor in the gasoline bucket and cover the bucket with a lid to prevent the gas from catching on fire. Moreover, never smoke or have any open flame near gasoline. It can blow up a tremendous fire at any time!
Allow at least 8 hours or a night, so the sensor gets soaked completely.
Step 8. Reinstall the sensor
After a night of soaking, remove and dry the sensor with a clean cotton cloth. Once it is fully dry, use a wrench to place it back to where you remove it. After that, tighten the sensor in place, turn on the car battery and check the check engine light.
Congratulations, you have now successfully removed, cleaned, and reinstalled your O2 sensor!
-
Go To An Auto Mechanic
If the cleaning process seems challenging and dangerous for you, take your car to a nearby auto mechanic. An expert can clean the sensor well and check other parts of your car as well.
Conclusion
We hope our article on “How to clean O2 sensor” is useful for you. Indeed, you can not prevent O2 sensors from getting dirty, so acknowledging some simple cleaning tips can be beneficial sometimes! As we’ve mentioned above, there are three methods to cleaning the sensor: automatic solvents, gasoline, or simply seek help from the auto mechanic. Choosing which method is up to your demands and needs!
Besides, instead of waiting for the sensor to go muddy, why don’t you do regular cleaning for your car? We are sure that periodic cleaning works much better than repair!
